Craft So Sublime
Throwing on Potter's Wheel - Beginner Level - Part 1
Throwing on Potter's Wheel - Beginner Level - Part 1
Couldn't load pickup availability
Why is the beginner level wheel-throwing course divided into two parts?
The complete beginner level wheel-throwing course covers several techniques. We have divided the course into two parts so that you can learn and practice each set of techniques without having to commit to the entire course at once.
Part 1 focuses on the fundamental wheel-throwing techniques through cylinder-based forms.
Part 2 builds on these skills and focuses on bowl forms and a slightly complex form of pitcher shape.
You can take Part 1 now and continue with Part 2 when you're ready.
In Part 1
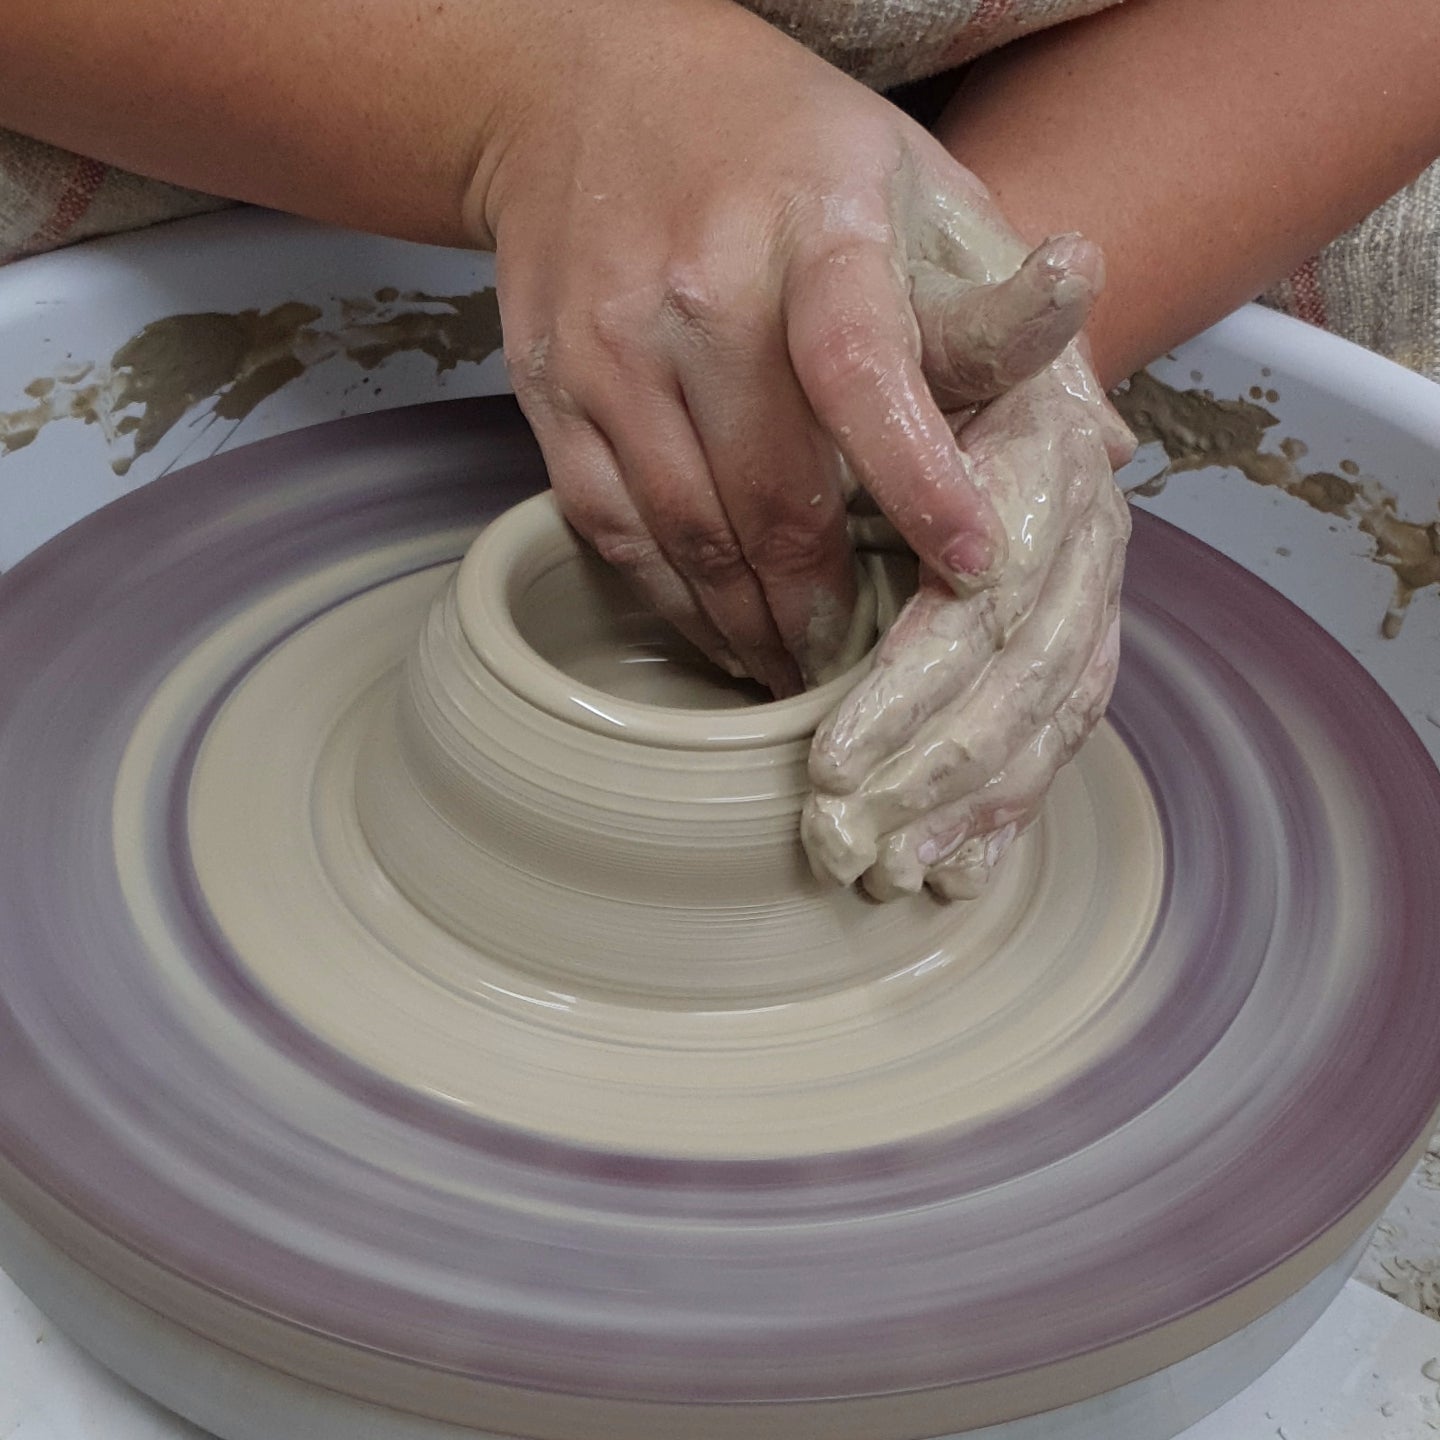
The cylinder is one of the most basic forms to make on the potter's wheel, making it a good starting point for learning the fundamental techniques required for throwing other forms.
- Center the lump of clay on the potter's wheel.
- Open the lump and pull the walls to create a cylinder.
- Control the width of the form and thickness of the walls as you throw.
- Trim the base of the forms.
- Modify a cylinder to create a V-shaped form.
-
Pull and attach handles to your forms, so that you can turn your cylinders and V-shaped forms into useful pieces such as mugs.
- Keep up to 5 objects for firing and glazing.
- Glaze your objects using simple glazing techniques with brushable glazes, suitable for the beginner level.
- Understand what is required to set up a small home studio space to practice throwing on a potter's wheel, recycling clay, etc.
No. of objects to be kept for firing and glazing - 5
Age group - 15 years and above
No. of students in a batch - 3
Duration - 7 sessions (3 hours per session)
- 6 throwing sessions
- 1 glazing session
Date and Time
Date and Time
Venue
Venue
Important Points to Note
Important Points to Note
Cancellation and Refund Policy
Cancellation and Refund Policy